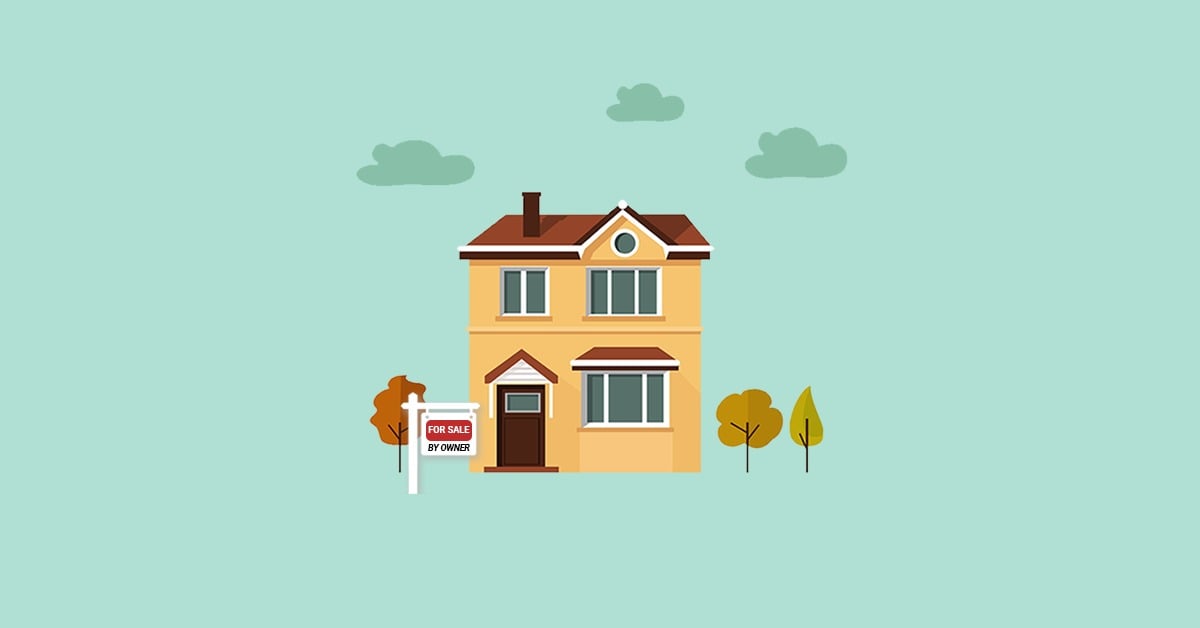
Selling your home is a huge decision. After quite a bit of research on local realtors in your area and how long the selling process takes, you may feel that it’s better to sell your home yourself. FSBO, also known as For Sale By Owner, is when you sell your home without the help of a Realtor or licensed professional. By doing FSBO, you can avoid paying commission and working with an agent, and you have complete control over your listing.
If you know you’re ready to sell your home but not sure where to start, we made a step-by-step guide on how to FSBO.
Step 1: Price your home accurately
According to NAR, 17% of people who have done FSBO said pricing their home was the most difficult task. Not only can pricing your home be difficult, but accurately pricing your home can be close to impossible. In fact, homes priced by owners are an average of 2% higher than homes listed by agents, according to Trulia research. Although that may sound good, it doesn’t necessarily mean they will sell at that price. Homes that are priced inaccurately actually stay on the market longer.
To accurately price your home, here are a few things you should research:
Current prices for homes similar to yours in your city and neighborhood. Because you aren’t a Realtor, it’s impossible to pull an accurate list of comparable homes without access to the MLS data, so you may need to rely on sites like Zillow and Trulia, which aren’t always accurate. However, you can get a free home value report here.
The ROI of any improvements and renovations you’ve made to your home. This can take quite a bit of time and research depending on how many improvements you’ve made to your home. You’ll also want to be careful not to over- or underprice the ROI since that will directly affect your home value.
Prices over time to find any market trends. Again, without access to MLS data, it will be more difficult to find accurate data about the market over time.
Step 2: Prepare your home
Since you won’t have an agent who offers their knowledge and expertise on home improvements that buyers look for, you will have to decide what should be upgraded or repaired in your home. To decide what should be updated, weigh the costs of the projects you think should be completed against the value of your home from step 1. After making any necessary renovations to show buyers you’ve put work into your home, you will need to stage your home.
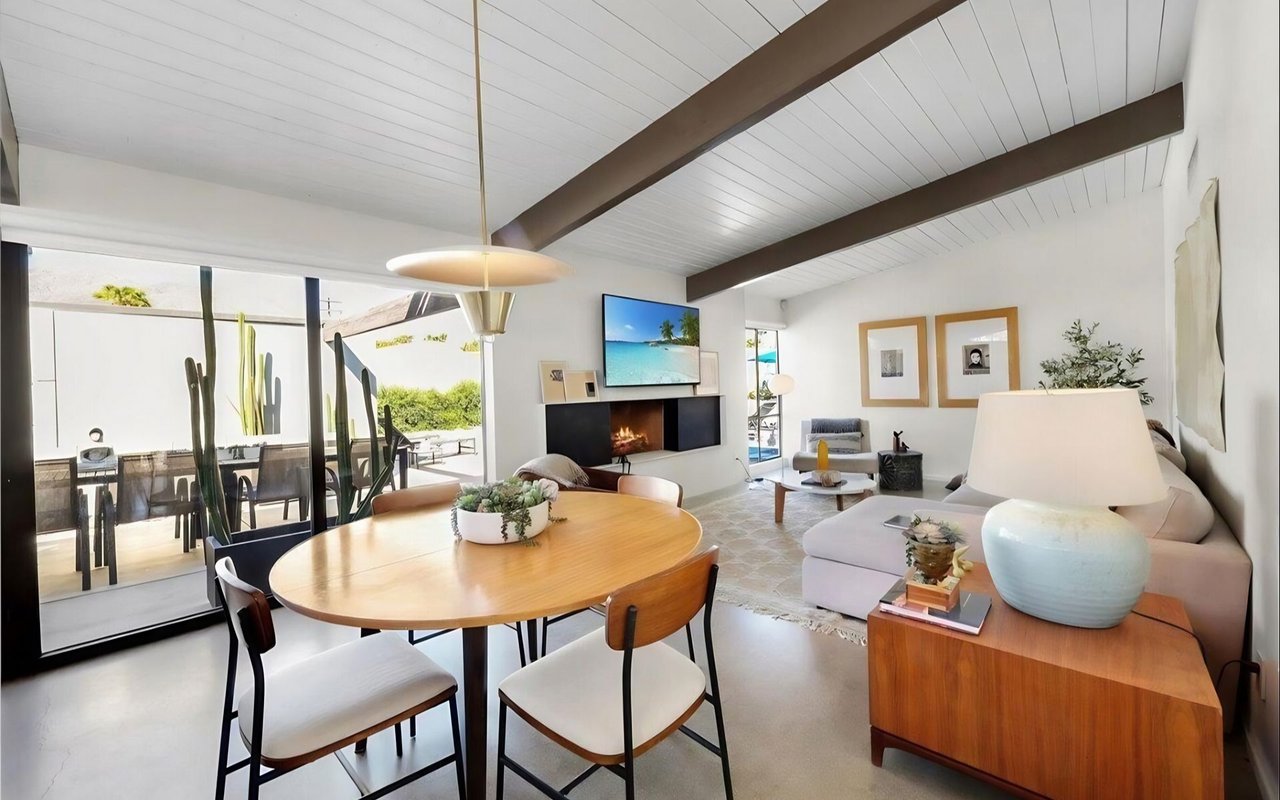
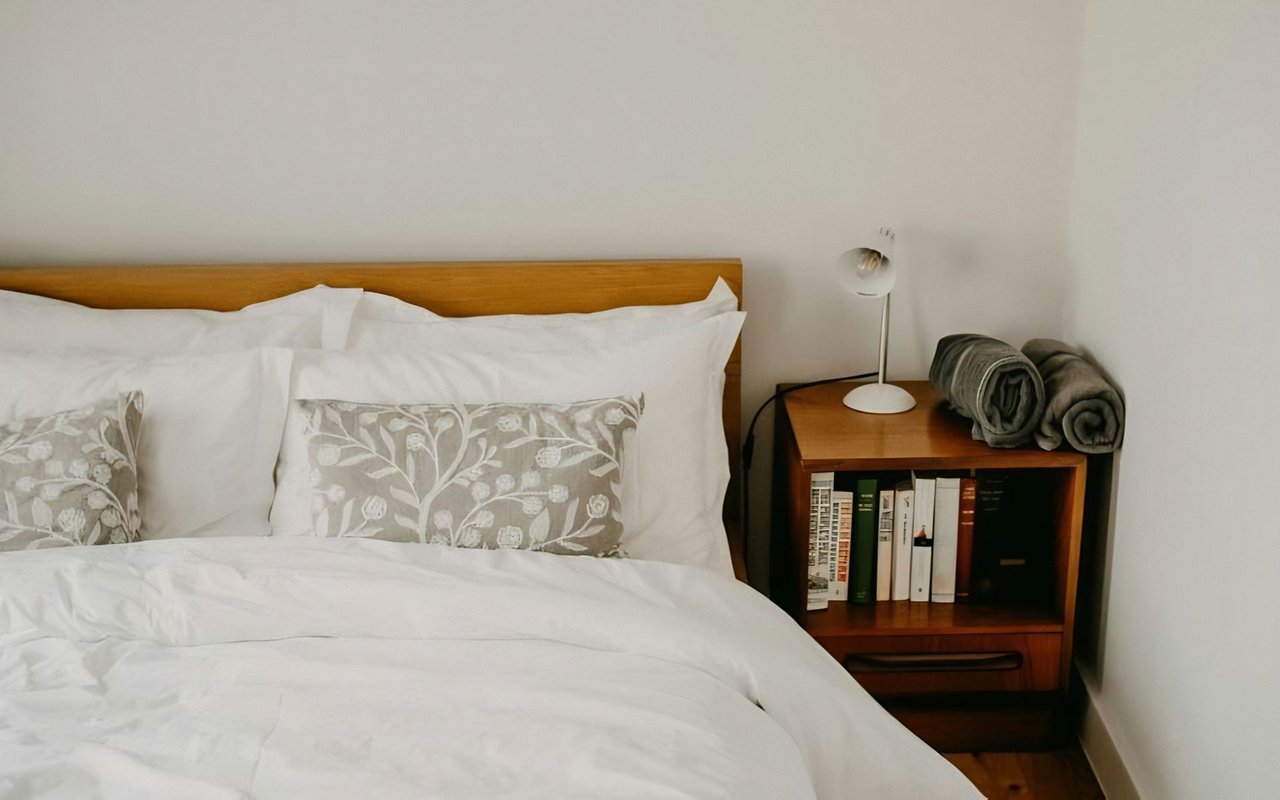
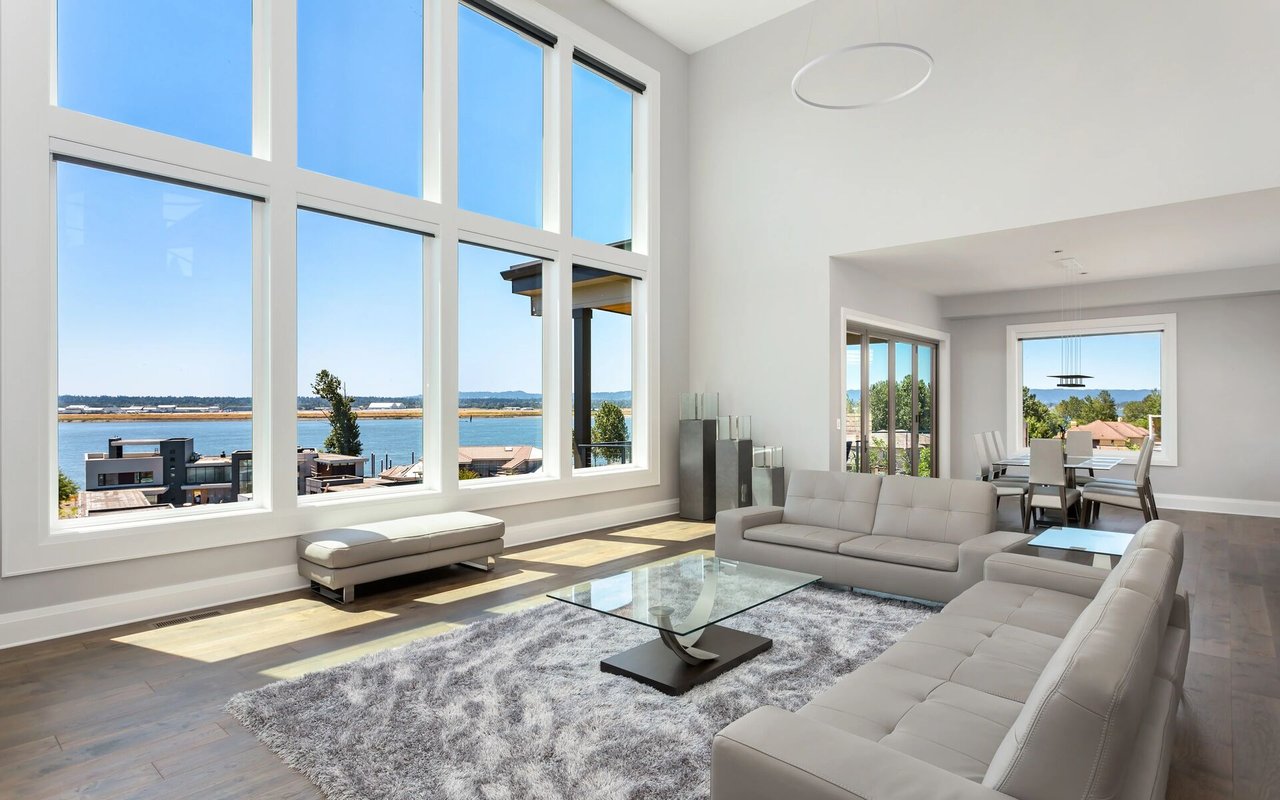
Staging is the process of strategically arranging the furniture and decor in your home to be show-ready so buyers can imagine living there. According to NAR, 83% of buyers’ agents said buyers could better visualize living in a home if it was staged, and 22% of sellers’ agents saw the dollar value of offers increase 1-5% when they saw a staged home, and 17% saw the dollar value of the home increase 6-10% in comparison to similar homes. Many agents offer their own staging services as part of the selling process, but since you are on your own, you can either hire a professional stager for an additional cost or do it yourself. If you decide to stage yourself, the rooms you should prioritize are the kitchen, living room, master bedroom, and dining room.
Not only does the inside of your home need to look perfect, but so does the outside. Curb appeal is how your home looks from the street and is another important step that you don’t want to overlook. It’s the first impression potential buyers will have of your home, so you’ll want to make sure the exterior is also show-ready. According to NAR, landscape maintenance, overall landscape upgrades, and standard lawn care services are ranked as the highest projects that should add value to your home when selling.

Step 3: Photograph your home
Once your home is prepared and staged, it’s time to photograph your home. Although the newest iPhone has a pretty good camera, hiring a professional who knows everything about lighting and the most appealing angles will be worth the extra cost. According to the Center for REALTOR® Development (CRD), homes with high-quality photos sell 32% faster, and the more photos you have, the faster your home will sell. Homes listed from $200,000 to $1,000,000 with professional photos have sold for $3,000 to $11,000 more.
Most Realtors offer professional photography as well as 3D tours and videos as part of their services, so if you have the budget, this is something you definitely want to invest in.
Step 4: List your home
After all the preparations you’ve made on your home, you’re finally ready to create your listing. Unfortunately, only real estate agents can create listings on the MLS. After they create a listing on the MLS, the listing is then automatically put on sites like Zillow and Trulia, which is where buyer agents can find the newest listings to show their clients.
You can list your home yourself as FSBO on Zillow or pay certain real estate companies to have them list your home on the MLS.
Step 5: Know your home disclosure requirements
If you’re selling your home on your own, you will need to research the requirements your state has for what you need to disclose about your home. A seller disclosure includes what sellers must tell buyers about their home. This can include structural problems, past issues such as flooding, and any repairs or upgrades you’ve made on your home. A seller disclosure will save you time from any surprises that may come up in a home inspection. If you do have any surprises or bumps in your inspection, you could be left with expensive and unnecessary repairs or demands from buyers.
Step 6: Market your home
Now that your home is (hopefully) listed, it’s time to market your home. Although you may think a for sale sign in your yard is good enough, it’s not. When we market your home, we typically start with an email blast to our database of buyer leads that we’ve accumulated over the years. You could send an email to friends and family letting them know your home is now on the market, but you may find it hard to get results that way.
Next, we usually set up an ad on Facebook and Instagram and target potential buyers in our area. According to NAR, members found social media to be the most valuable source to obtain high-quality leads. With more than 1 billion monthly active users on Instagram and 2.41 billion monthly active users on Facebook, marketing your home on social media is one thing you don’t want to miss out on. You could post about your home on your personal page, but exposure and reach will be limited, and the quality of leads may not be what you were hoping for.
For some of our listings, we will even put together a video to share on social media as well. To get a more detailed example of what we do to market our listings, check out our marketing page here.
Step 7: Communicate with potential buyers
Hopefully by now, you’ve acquired a few leads that have started to show interest in your home. Even though you don’t have an agent, your potential buyer probably does, which means you’ll be responsible for all communication with them throughout the process. You will need to be on top of emails, texts, and phone calls to schedule showings and meetings with your potential buyers and their agents and be responsive to any questions they may have about your home. Just remember to be patient and think about your responses - selling your home (especially on your own) can be emotional and make you say things you didn’t mean.
Step 8: Hire third-party experts
You might want to hire an attorney to help you throughout the selling process, especially when signing legal documents, purchase agreements, and seller disclosures. Some states even require representation from an attorney when you close. Although this can be costly, it’s ultimately for your own protection throughout the process.

Step 9: Wait for offers
And now we wait... Depending on how much effort you’ve put into the preparations, staging, marketing, and listing of your home will determine how long it will take your home to sell. According to Inman, 18% of FSBOs did not sell in the timeline they were hoping for, and the average FSBO home sold for $200,000, while homes sold by agents sold for $265,500 in 2017. In fact, homes sold through the MLS sold on average 20 days faster, according to NAR.